You remove an old product from Shopify and later find its URL in Google Search Console under Not found (404). The old product is gone, but Google, another website, or a customer can still reach that URL.
The right action depends on the old product. Leave the URL as a 404 when the product is permanently gone and has no useful replacement. Create a redirect when the URL still receives visits, has links from other websites, or has a close replacement in your store.
For example, if you remove a discontinued blue ceramic mug, you could redirect its old product URL to a newer mug. If you no longer sell anything similar, leaving the old URL as a 404 is fine.
First, check what happened to the product
Start with a product URL from Search Console's Not found (404) report and look for that product in Shopify admin. If you still sell it, make it active and publish it to the sales channel where customers should find it.
Decide what the old URL should do
Use the data in the report to make the decision. A product URL with impressions, clicks, links from another website, or links from your own store deserves a closer look. People are still reaching that address, so send them somewhere that answers the same need when a suitable page exists.
For the blue ceramic mug, use the new blue ceramic mug product page if it replaced the old one. If you now sell several similar mugs but no direct replacement, use the mugs collection.
Leave the old URL as a 404 when the product is gone and no page matches it. Do not send every deleted product to the homepage. An unrelated destination leaves the visitor looking for the product they originally wanted.
Remove links to the old product from your menus, collections, blog posts, and other pages. The redirect handles visitors who already have the old URL; updating your links prevents new visitors from being sent there.
Add a redirect in Shopify
For a few URLs, add each redirect in Shopify admin:
- In Shopify admin, open Content → Menus.
- Select View URL redirects.
- Select Create URL redirect.
- Enter the old path in Redirect from, such as
/products/blue-ceramic-mug. - Enter the new path in Redirect to, such as
/products/blue-ceramic-mug-newor/collections/mugs. - Select Add.
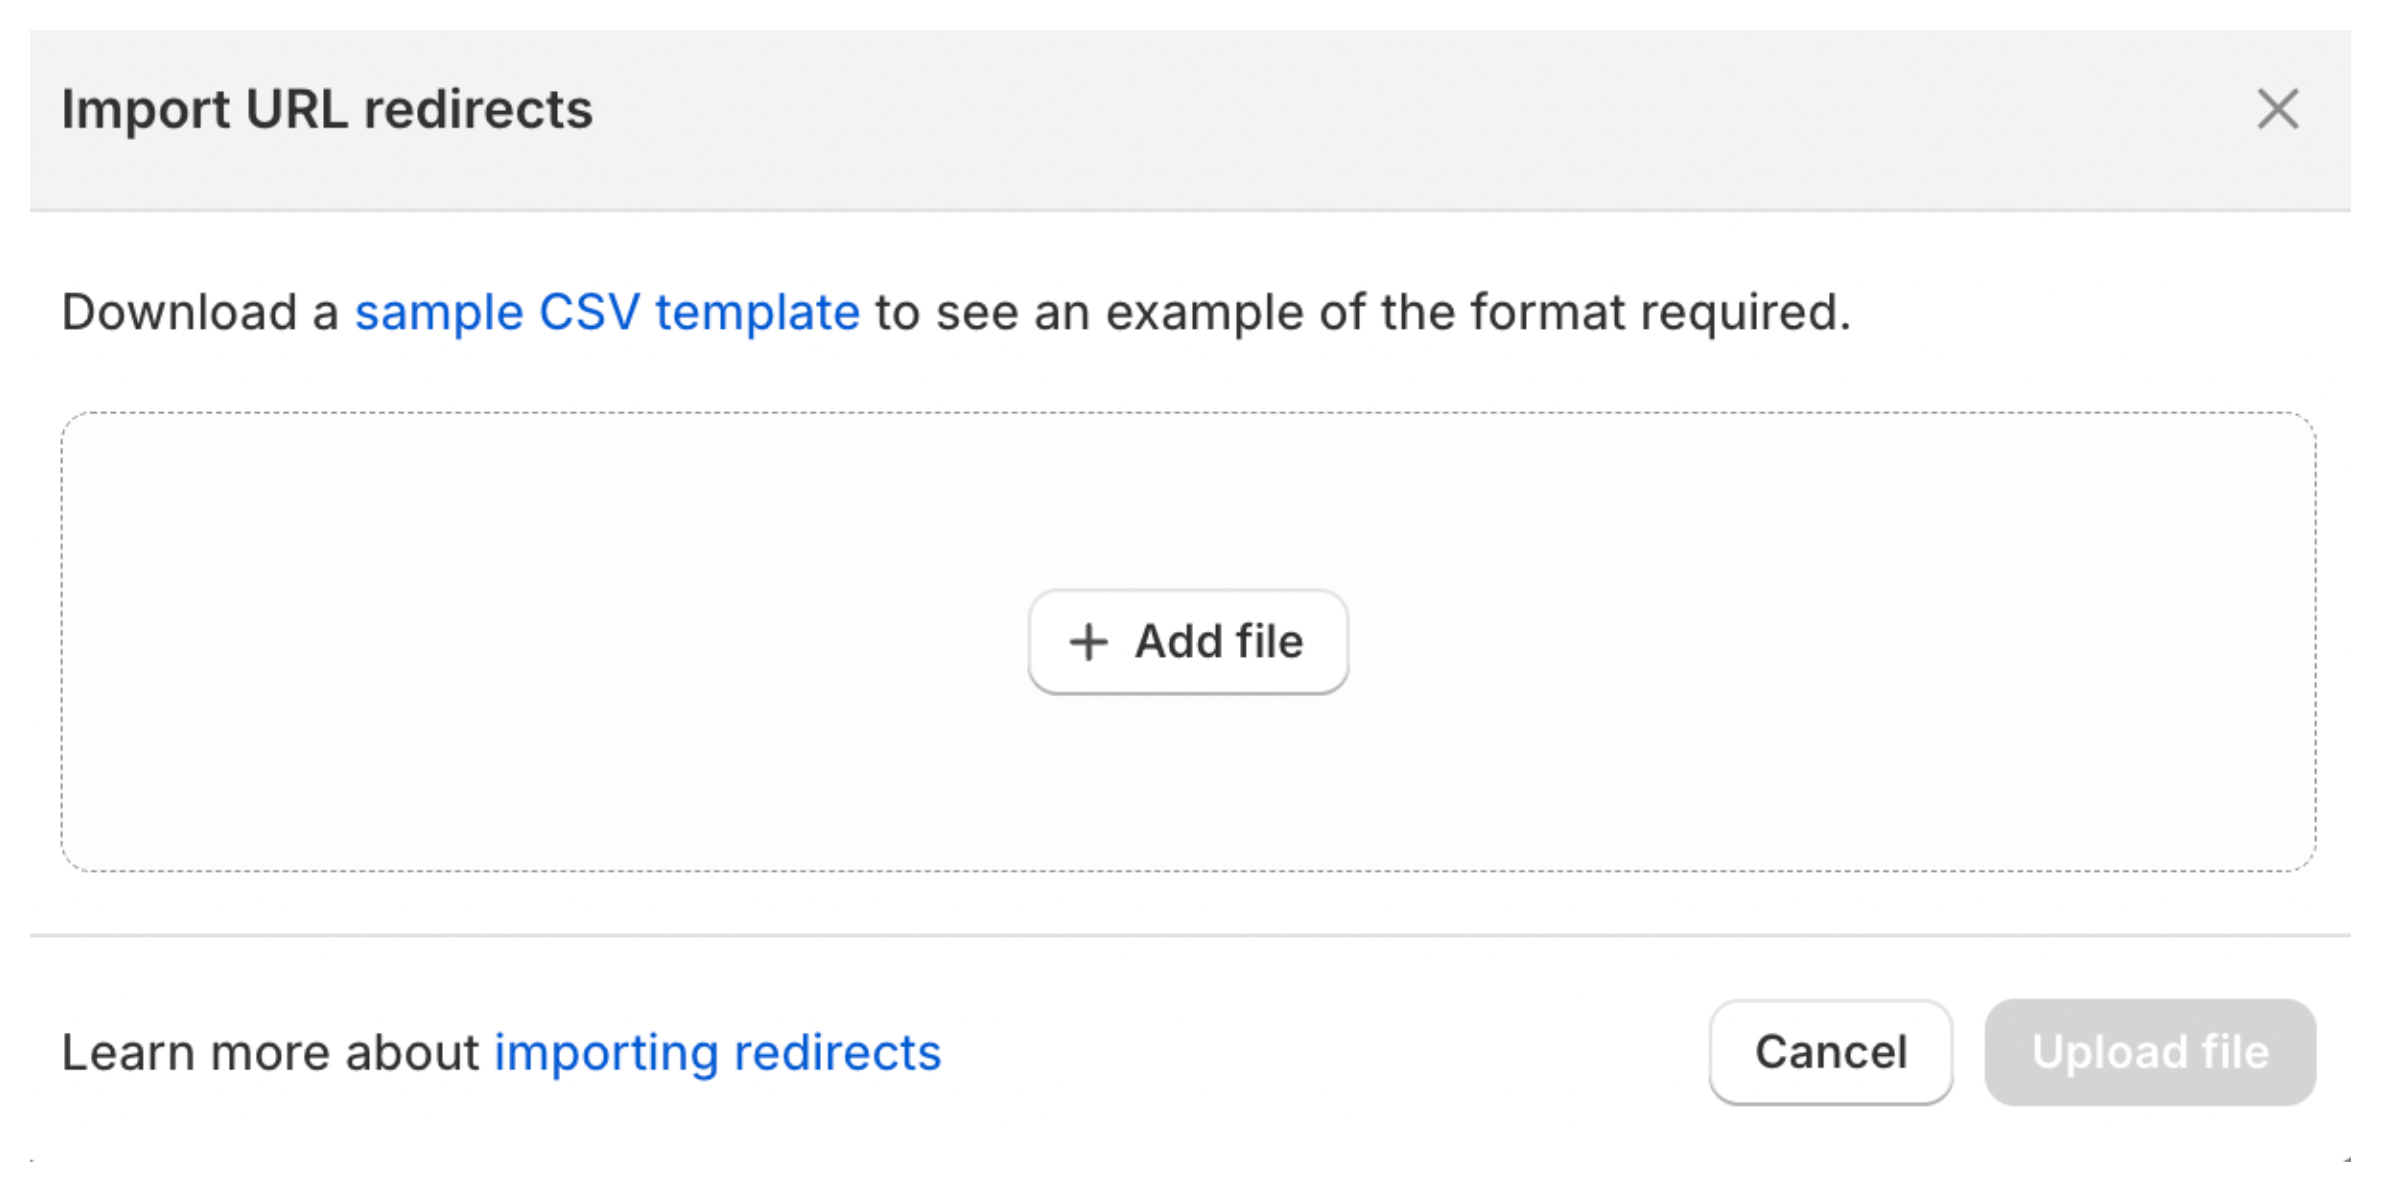
For a larger cleanup, create a CSV file with these two columns:
Redirect from,Redirect to
/products/blue-ceramic-mug,/products/blue-ceramic-mug-new
/products/old-tea-mug,/collections/mugs
Use the path after your domain in both columns. For example, /products/blue-ceramic-mug can redirect to /products/blue-ceramic-mug-new.
In Shopify admin, open Content → Menus → View URL redirects, select Import, upload the CSV file, review it, and select Import redirects.
For a large redirect list, SC Easy URL Redirects provides a dashboard for managing and monitoring redirects.
Make sure the old URL goes to the right page
Open several old URLs in a private browser window after the import.
The old product still opens. Shopify only uses the redirect after the old path becomes unavailable. Check that the product is no longer published where you are testing the URL.
The redirect goes to the wrong page. Compare the old and new paths in the CSV with the exact paths in Shopify. A missing character in a product handle creates a different URL.
The old URL still appears in Google. That does not mean the redirect failed. Google has to crawl the URL again. If the old URL redirects correctly in your browser, give Google time to update its report.
Customers still reach the old URL through your store. Search your navigation, collections, blog posts, and product links for the old path, then replace those links with the current destination.